RTO Grow · Getting started
Setting up your RTO, from empty account to live course
Everything here takes you from a brand-new account to a course learners can book. It is in order, because each phase needs the one before it. You do not have to finish it in one sitting.
Start with Phase 1. It sets up who your RTO is, and your certificates, AVETMISS reporting and public pages all read from it. Until it is done, nothing else works properly. The rest you can come back to.
Easy to miss marks the steps people skip and regret later. Do them anyway.
Set up your RTO
Your org identity has to exist first.
Enter your RTO name, National Provider Number, ABN, branding and NRT logo attestation, policy links, your plan, and connect Stripe. This is your front door, so do it before anything else.
/onboardingSet up delivery locations, USI integration, funding contexts, certificate templates, form templates and student payments. Locations and funding have to exist before your deliveries export cleanly, so do not leave these blank.
Settings · /settingsAdd staff and assign roles under Team. Add trainer records and their credentials (First Aid, police check) separately. You will need these for sign-off later. See Invite a trainer or admin.
Settings › Team · /settings/team + /people/trainers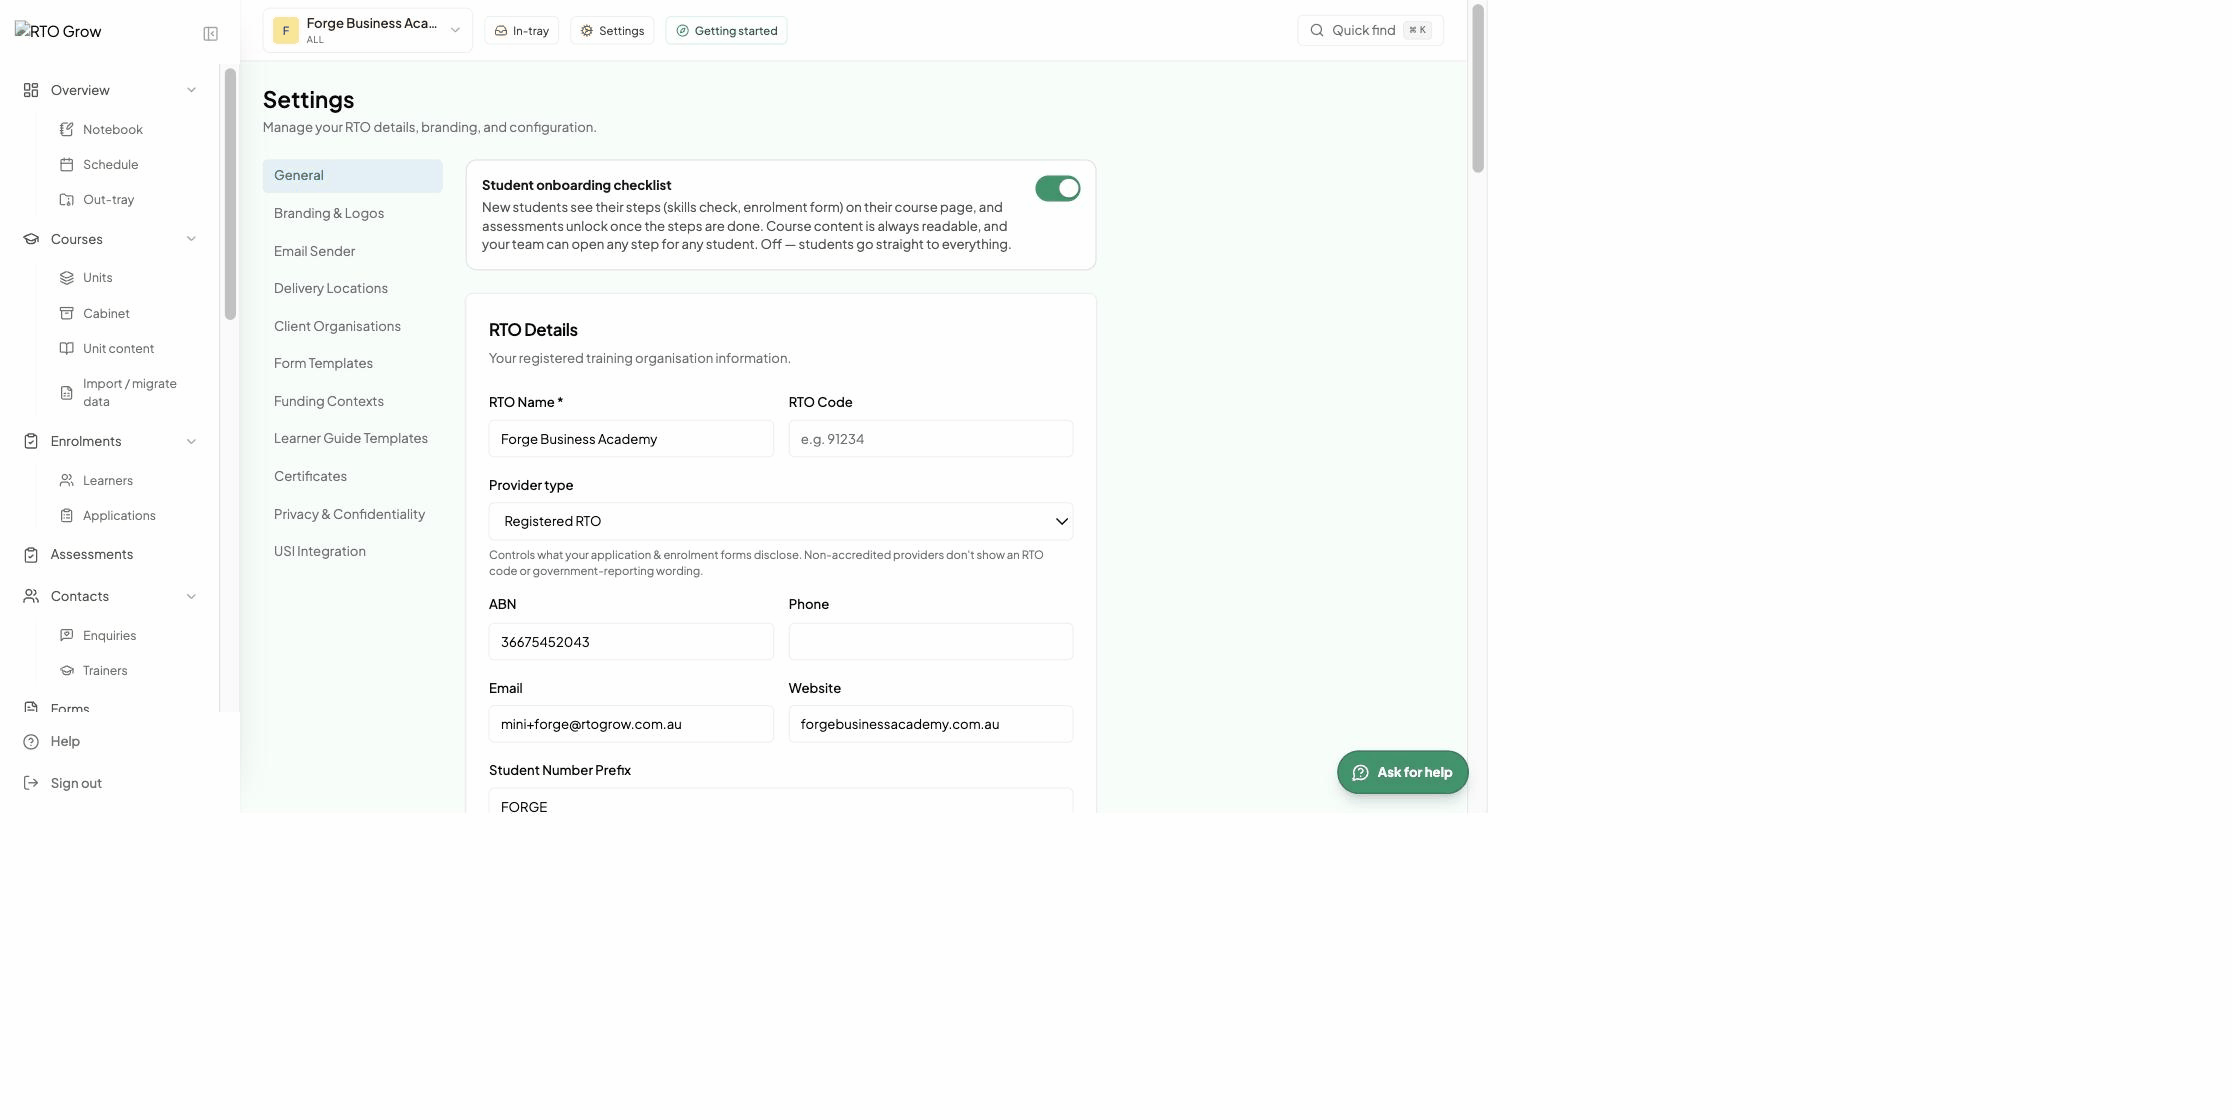
Build your unit library
Author once at unit level. Every course that uses the unit inherits it.
Go to Units, click Bulk import from training.gov.au, paste the qualification code, and tick the units you want. They land in your library ready for content. You can also add a single unit or add one manually for non-accredited training. See Add units to a course.
Courses › Units · /courses/units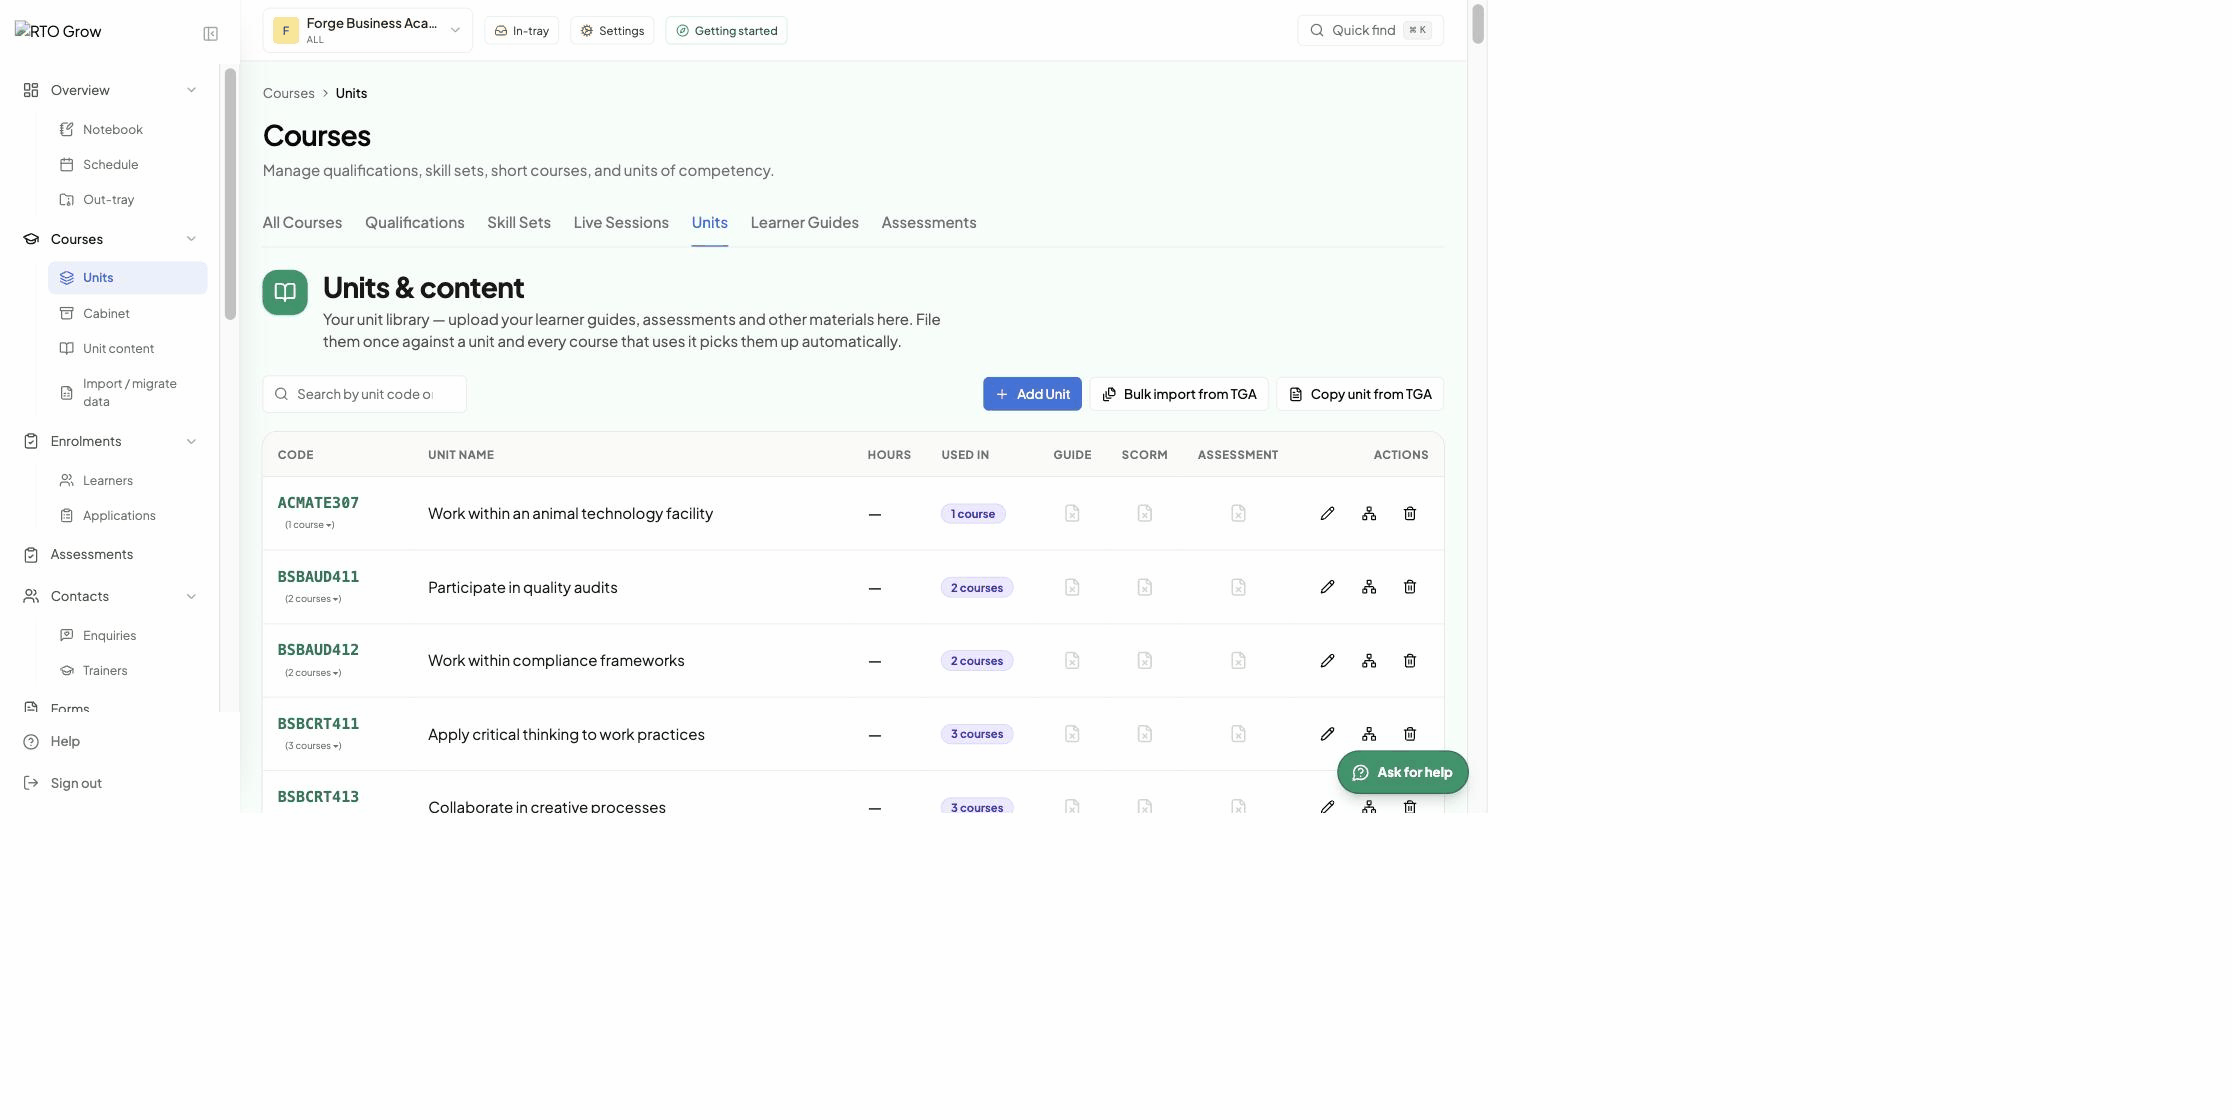
Author the learner guide, slide decks and marker materials in each unit's Cabinet. Pick a theme, drop in content blocks, and use AI Improve or AI Scanner, or upload a Word or PDF you already have. Publish, and every course using that unit picks it up automatically.
Unit › Cabinet · /units/{id}/cabinet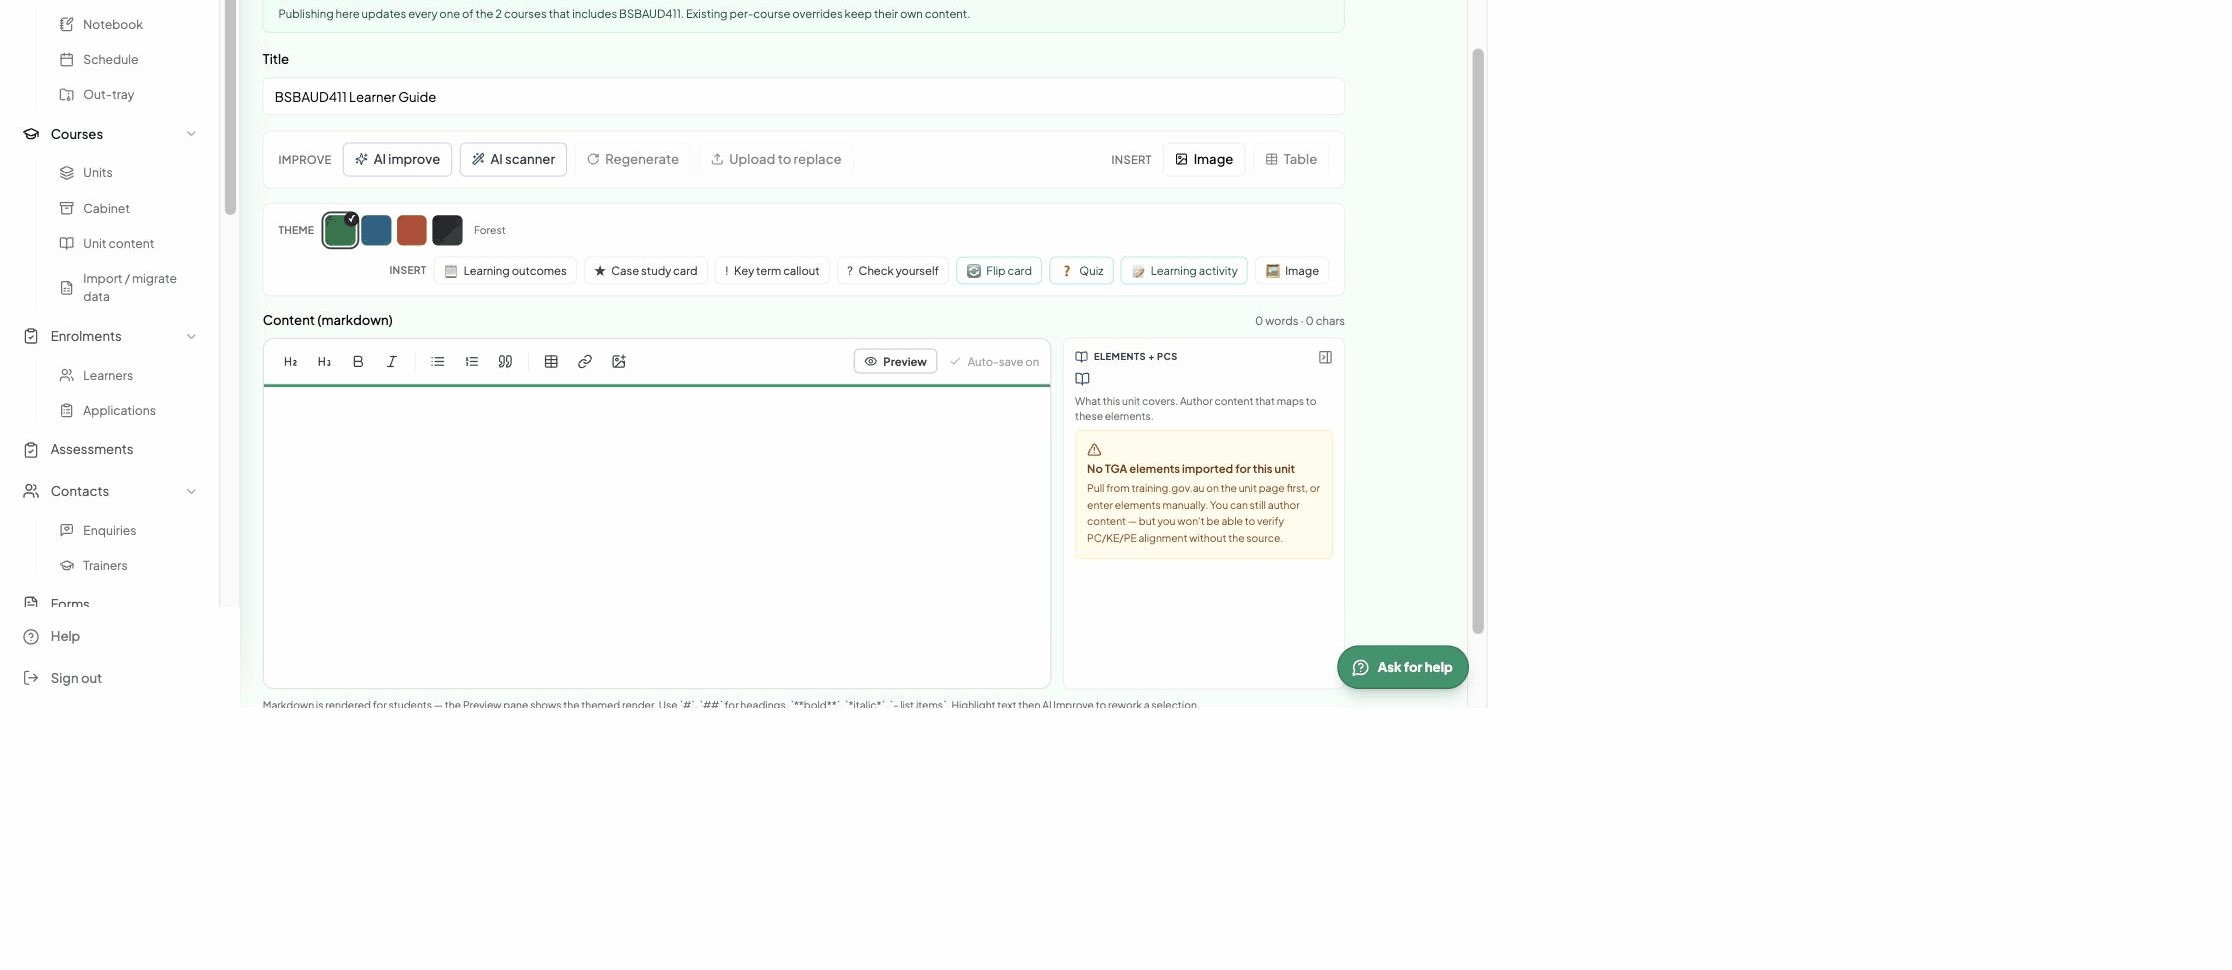
Build assessment tools per unit: written questions, video or evidence upload, auto-marked quizzes, and observation checklists. Upload your own, start from a template, generate with AI, or start blank. These publish to the same unit library.
Unit › Assessment · /courses/units/{id}/assessment-author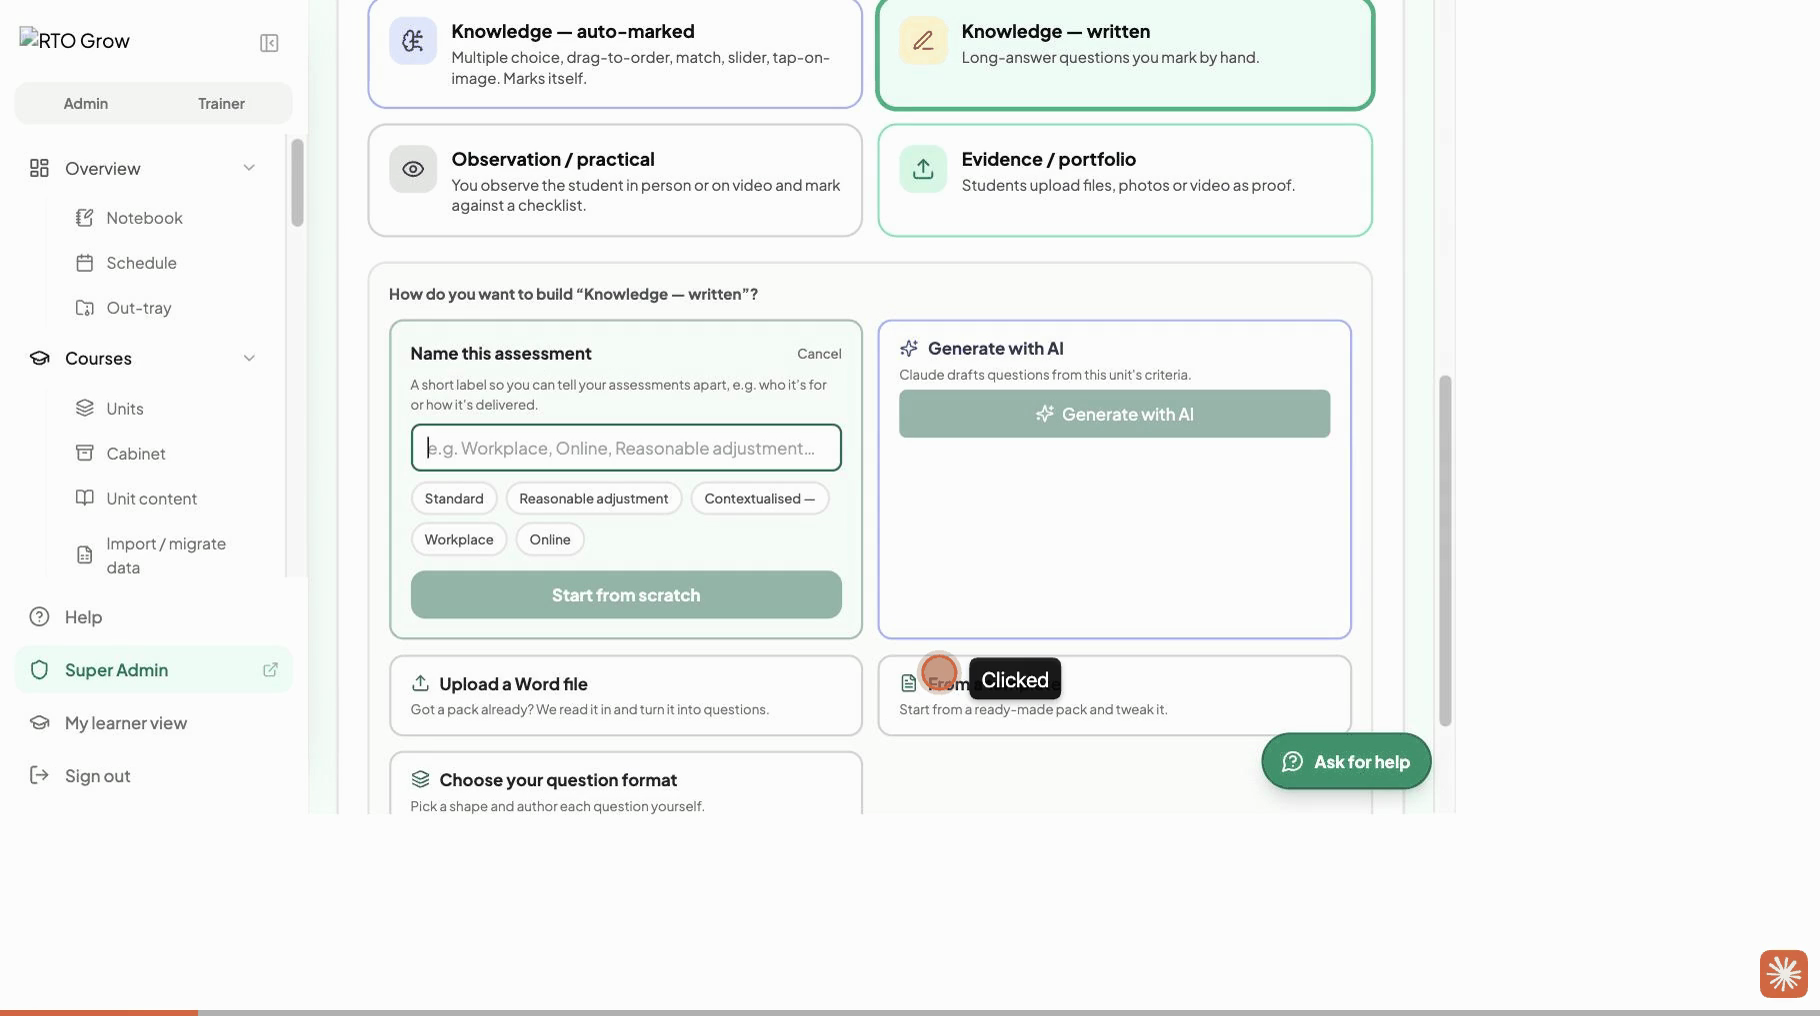
A course is really just a bundle of units. Because the content hangs off each unit, building it first means a unit is instantly ready in every course that uses it, this year and next. Build the course shell first and you get an empty folder. Build the units first and the courses fill themselves in.
Already have Word or PDF learner guides and assessments you have delivered for years? File them as-is. Want to build fresh in the system with themes, blocks and AI help? Do that instead. Filing your existing materials is a complete compliance story on its own.
Build your course
Wrap your units into a course and make it compliant. The in-app checklist walks you through it.
Pick a door: qualification, skill set, accredited course, single unit, or short course or workshop. The accredited doors pull structure from training.gov.au for you. See Set up a new course.
Courses › New course · /courses/new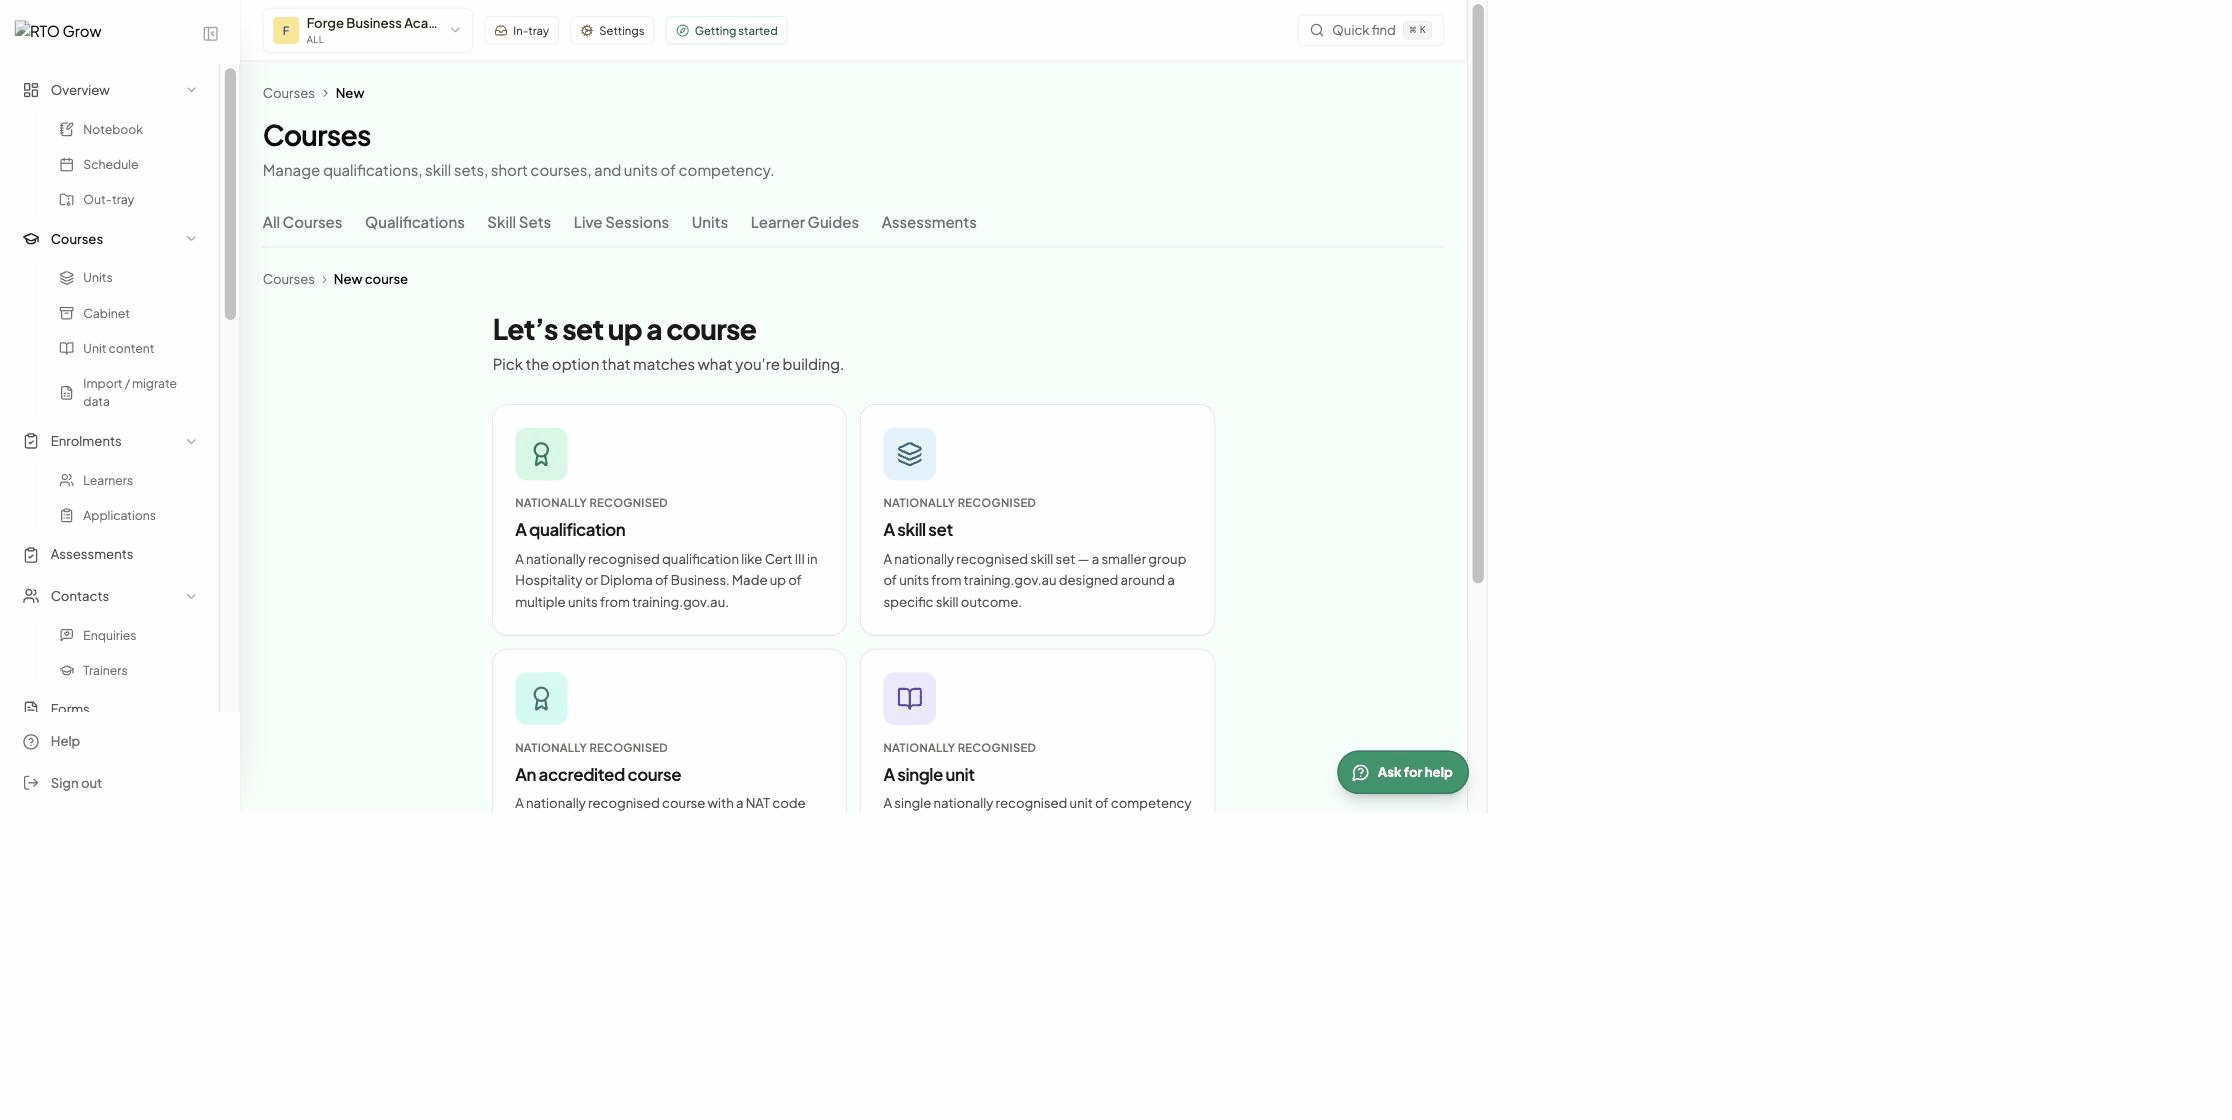
Attach the units you imported in Phase 2. They bring their published content along automatically.
Course › Edit · /courses/{id}/editAssemble the TAS for the course. ASQA expects it, and a per-delivery copy is created when you publish a delivery. Easy to miss, and not optional.
Compliance › Policies and procedures · /compliance/documentsFill the classification fields on the course. Required before a nationally recognised course can publish and report cleanly.
Course › Edit · /courses/{id}/editSet up offerings and go live
In the app, your offerings are called Deliveries. That is where price, dates, location and enrolment live.
Each delivery carries price, start and end dates, delivery mode, location, funding context and enrolment methods. One course can have many deliveries. See Create a delivery and set start dates.
Course › Deliveries · /courses/{id}/variants/{id}Build the page prospective learners see and enrol from. It lives on your storefront. You can also customise the enrolment form behind it. Easy to forget, and learners cannot book without it.
Course › Landing page · /courses/{id}/landing-pagePublish the course, then publish its deliveries. Now it is bookable. Enrolments flow into Enrolments, marking into Assessments, reporting into AVETMISS.
Course · /courses/{id}Once you are live
This is what your learners and trainers see, and the day-to-day that flows on from here.
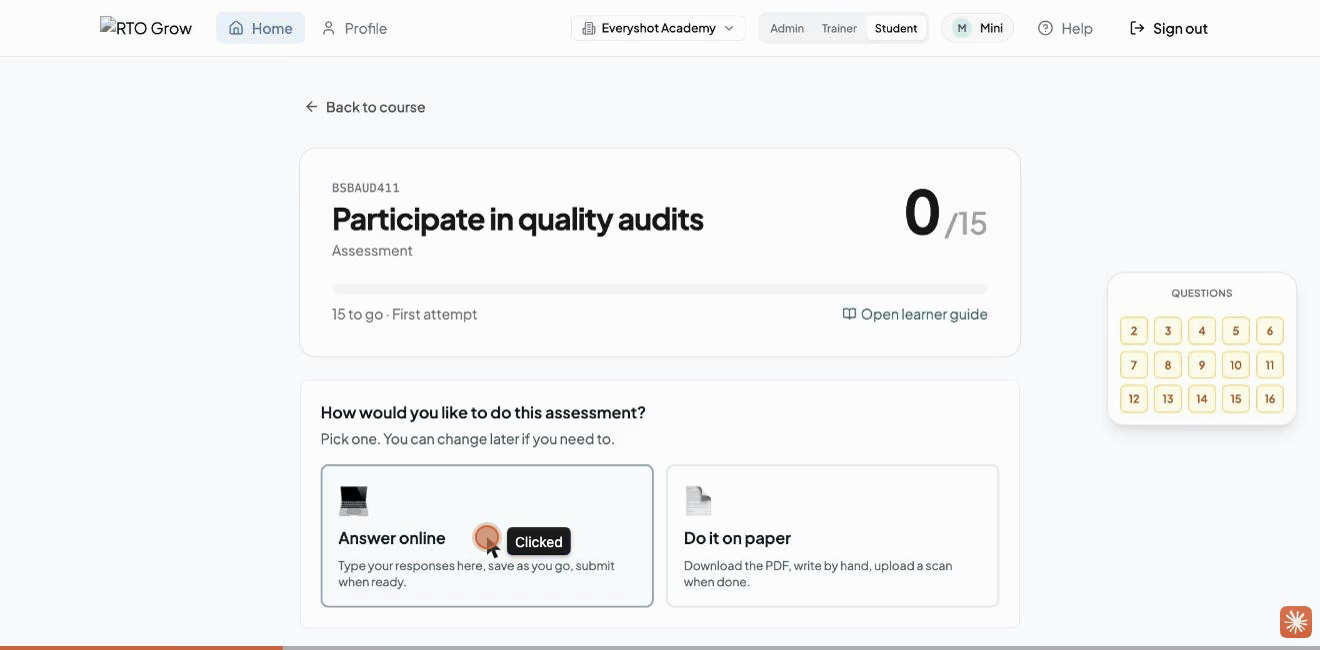
Prospective students land as enquiries and applications. Review an application to approve and enrol, or enrol a student directly. You can also add a learner without enrolling them, or import your existing data from another system.
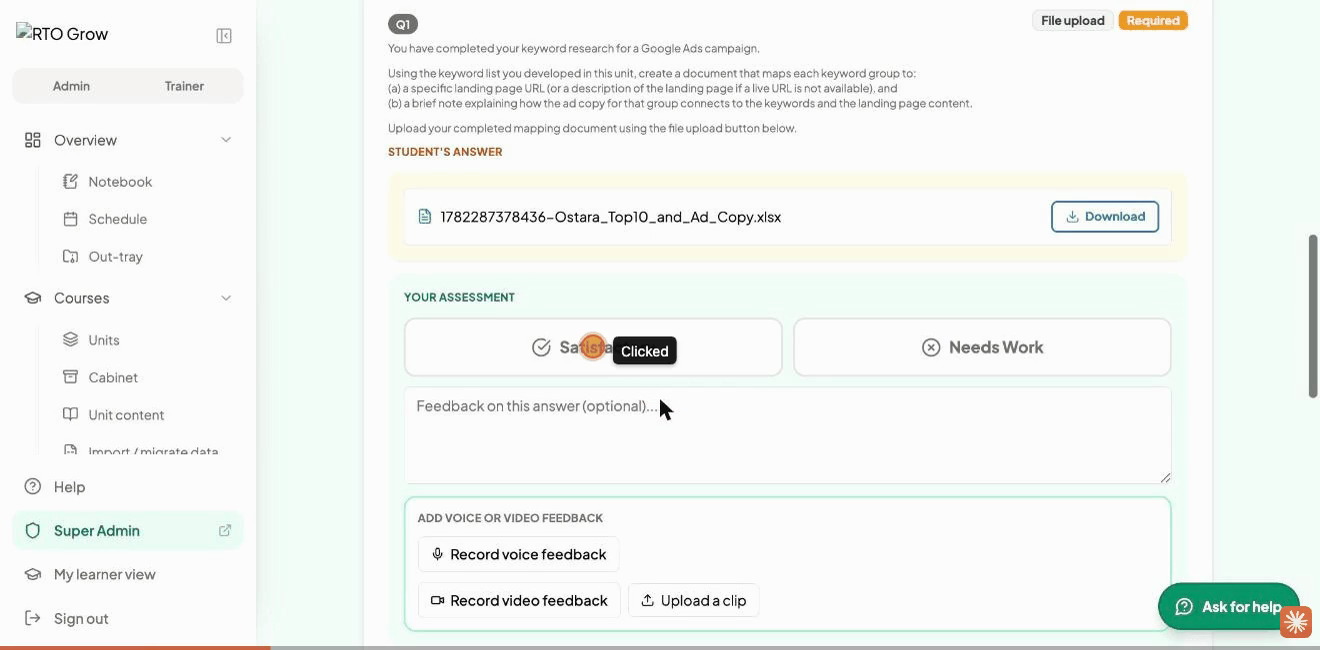
Students submit their work, trainers mark it, and competent students are certified. See Issue a certificate. When it is time to report, export your AVETMISS NAT files, and check your audit evidence trail any time an auditor asks.
How content works
Two things about content will save you confusion, especially in Phase 2.
Author once, at the unit
RTO Grow is built so you write content in one place and reuse it. When you author a learner guide, slide deck or assessment inside a unit's Cabinet Unit › Cabinet, every course that uses that unit picks it up automatically. So build at the unit level first, then wrap your units into courses. You are not rewriting content per course.
Content flows down, never up
Content travels from the unit, into the courses that use it, and on to the learner. It does not travel back up. A change you make deep inside a specific course or delivery stays with that course or delivery. It does not push back into the shared unit library.
If you created content and cannot find it
Almost always, the content is not lost. It was authored in a narrower place than you meant. If you edited or added something while inside a specific course or delivery and now cannot see it in the unit's Cabinet, that is why: a change made in one course or delivery applies to that one place only.
To make content appear across every course that uses the unit, author it at the unit level in Unit › Cabinet. Then publish, and it flows down to all of them.
If you have checked the unit's Cabinet and it is genuinely gone, that is not expected behaviour. Report it rather than rebuilding it.
That is the whole path.
You do not need to hold it all in your head. Start with the setup wizard, and each phase leads into the next. The Ask for help button and the sidebar Help search every guide.